
Last updated November 16, 2026
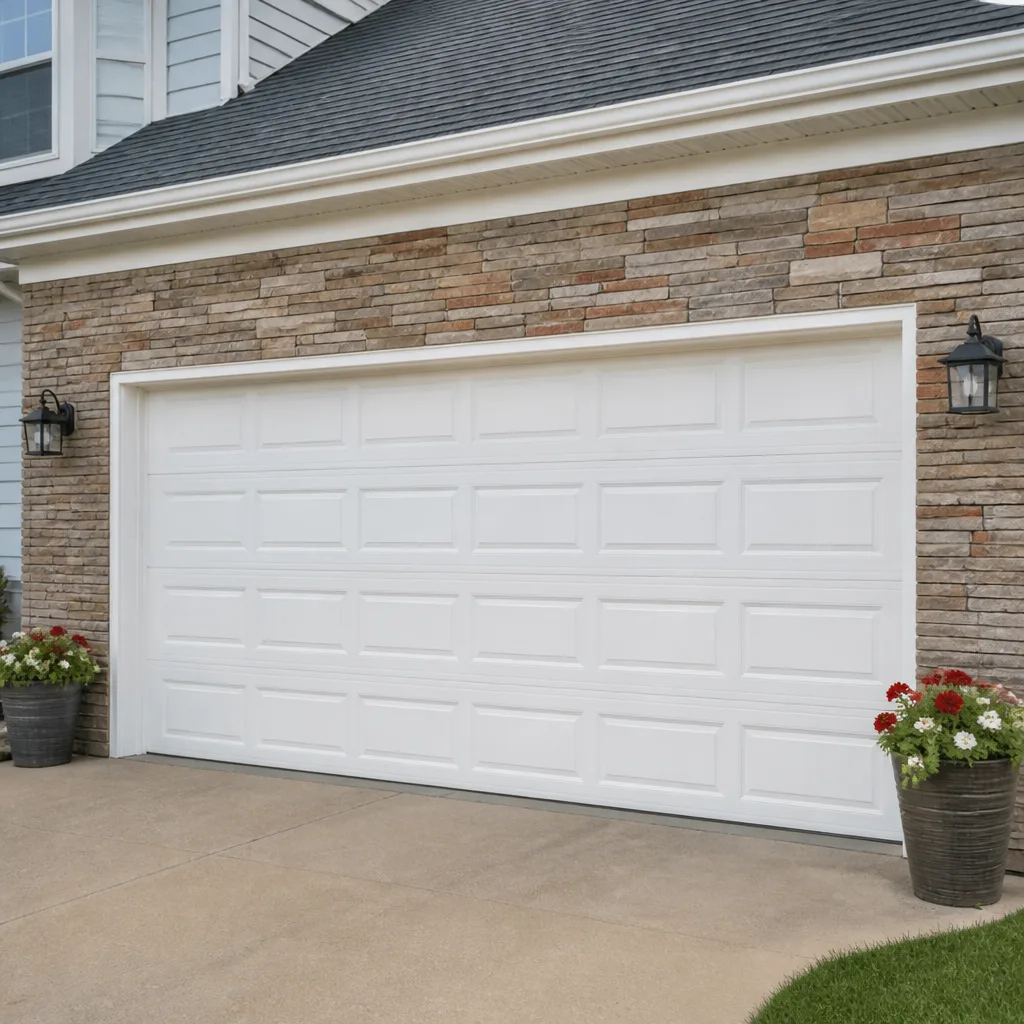 Raised-panel steel
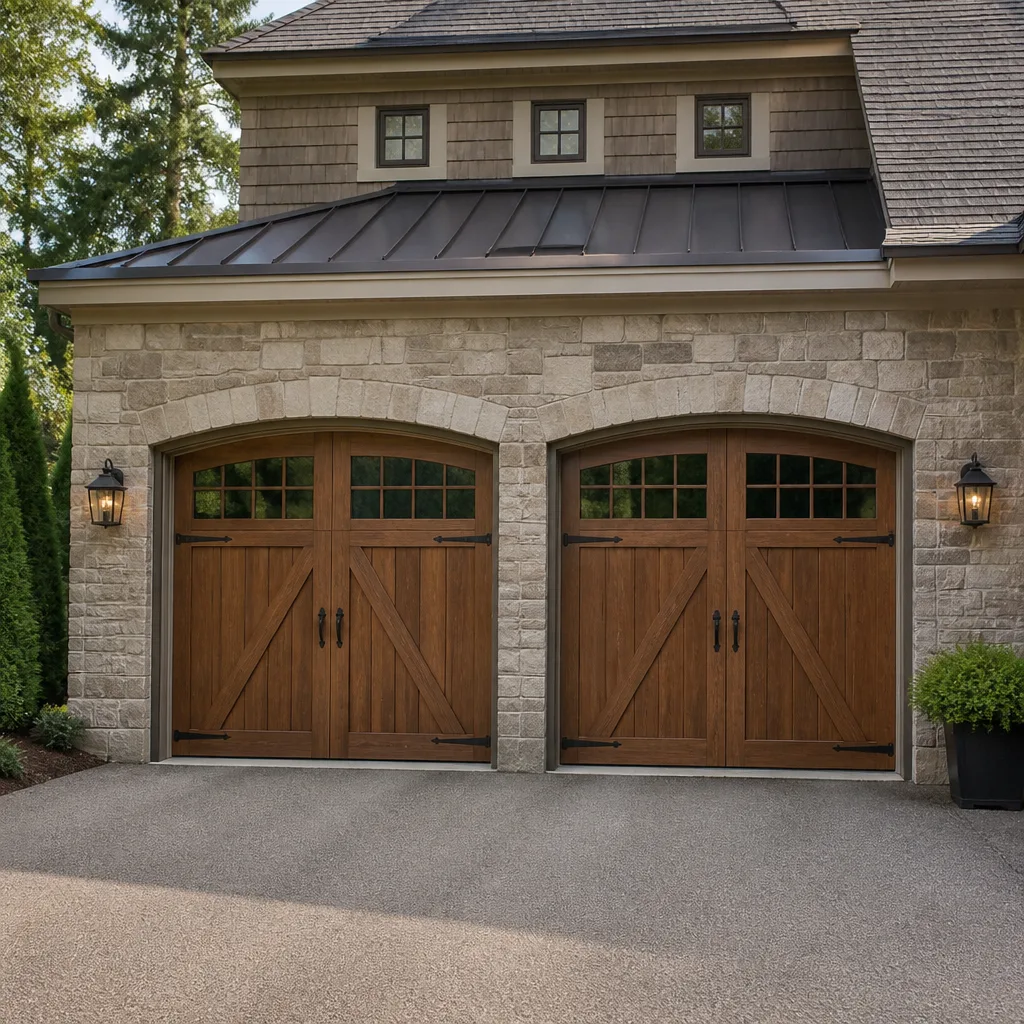 Carriage house
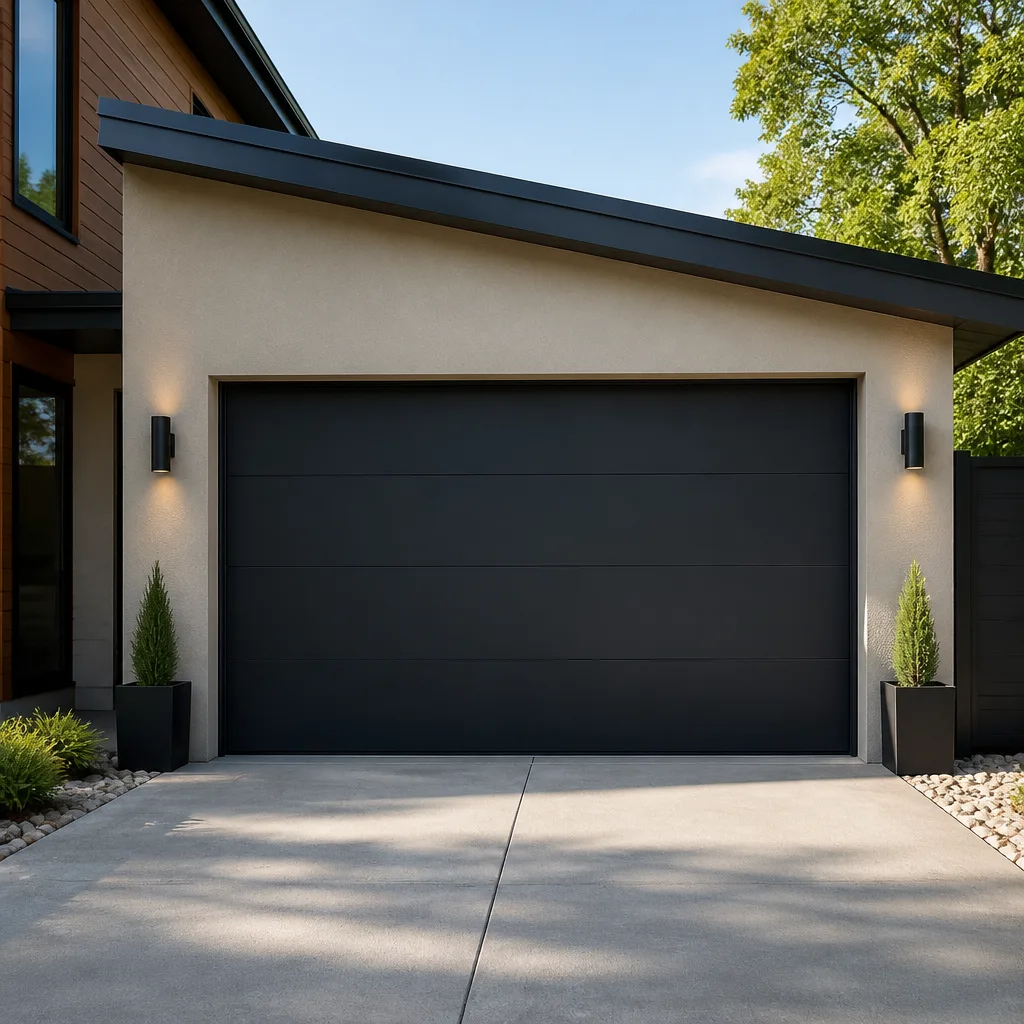 Modern flush
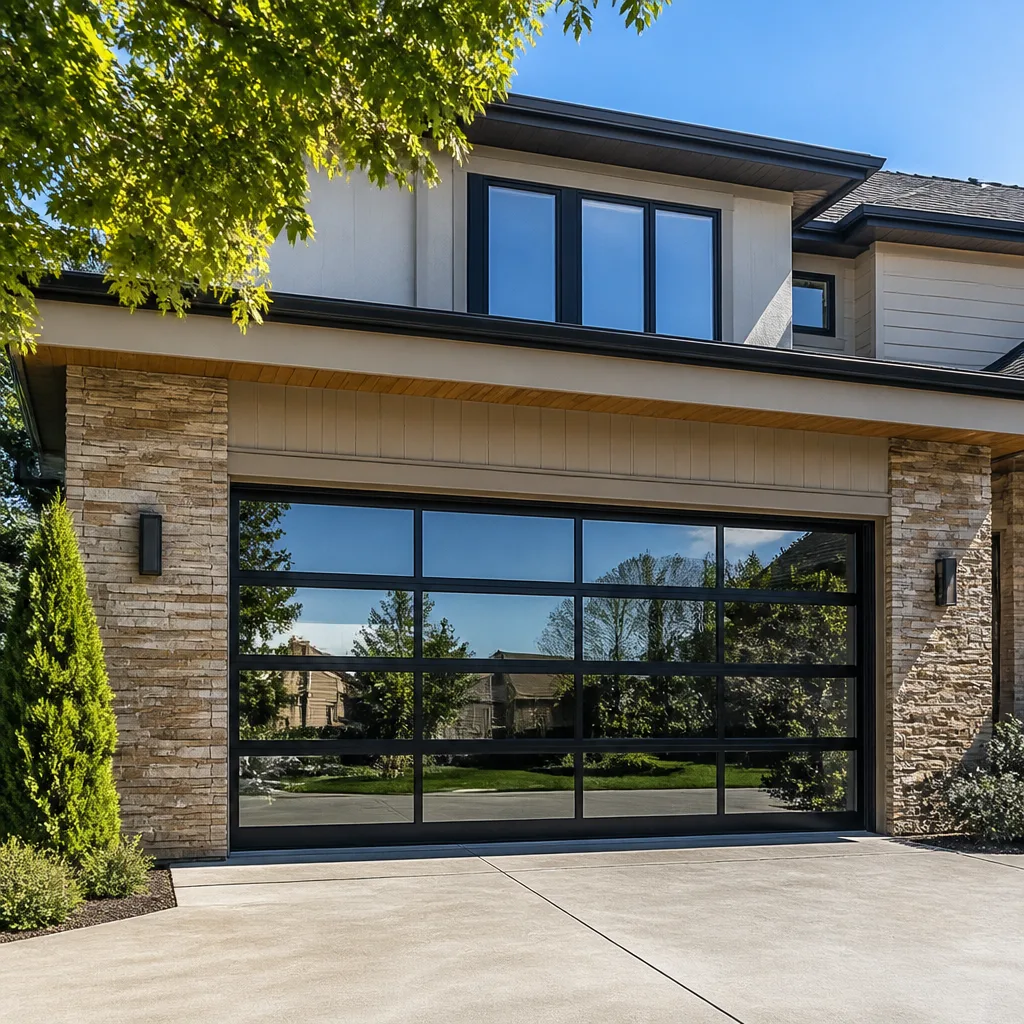 Full-view glass
 LiftMaster openers
 Chamberlain openers
Full 25-point door and opener safety check with every visit - springs, cables, rollers, tracks, and your LiftMaster or Chamberlain opener included
You get a price before we start. It does not change when the pro arrives.
Get your free estimateGarage Door Repair Maintenance Checklist for Winston-Salem Homeowners
Most Winston-Salem homeowners assume a garage door spring breaks because it got old. In our experience on Piedmont doors, the bigger culprit is skipped lubrication through the dry, cold snaps that settle over Winston-Salem every January and February. Steel coils that run dry through a hard freeze cycle fatigue faster than coils that get a light coat of lubricant each fall. The door still opens, so nobody thinks about it, and then one morning it doesn’t. This guide lays out a real maintenance checklist built around the hardware actually installed in Winston-Salem homes and the failure patterns our local weather creates: brand-specific lubrication, auto-reverse testing, weatherseal inspection for freeze-thaw, and a visual spring-and-cable check with pass/fail standards you can use without tools. It’s the checklist we’d hand a neighbor.
Quick Answer
A garage door maintenance checklist for Winston-Salem should cover lubrication of the springs, hinges, rollers and opener drive two to four times a year, a monthly auto-reverse and force-setting test, a weatherseal inspection before and after each freeze, and a visual check of torsion springs, cables and rollers for wear. Most homeowners can handle the lubrication and testing themselves in about 15 minutes. Spring, cable and opener repairs belong with a trained technician.
Styles & brands we work with
- Raised-panel steel
- Carriage house
- Modern flush
- Full-view glass
- LiftMaster openers
- Chamberlain openers
Table of Contents
- Why Winston-Salem’s Climate Wears Doors Differently
- The Monthly Five-Minute Check
- Brand-Specific Lubrication: What Your Opener Actually Needs
- Testing the Auto-Reverse and Force Settings
- Weatherseal Inspection for Piedmont Freeze-Thaw
- Visual Inspection of Springs, Cables and Rollers
- Which Tasks Protect Your Warranty (and Which Void It)
- A Seasonal Calendar for Winston-Salem Doors
Why Winston-Salem’s Climate Wears Doors Differently
Winston-Salem sits in the Piedmont, which means the door on your house sees something a door in coastal Carolina or the mountains doesn’t: repeated freeze-thaw cycles through winter followed by humid summers. That combination matters more than most homeowners realize. A metal door panel expands in July heat and contracts in January cold. Wood and composite panels swell and shrink with the same swing. Every one of those cycles nudges the hardware a little, and over a few seasons that shows up as a roller that’s drifted out of its track or a hinge screw that’s worked loose.
The freeze-thaw pattern is the sneaky part. Water works into a worn bottom seal or a hairline gap along the frame, freezes overnight, expands, and thaws the next morning. Do that across a Piedmont winter and you get seals that crack and frames that pull slightly away from the door. That’s why our weatherseal inspection advice on this page is tied to actual freeze cycles rather than to a generic “check your seals in spring” line.
Local housing stock adds another layer. Winston-Salem has a wide mix of older homes with original wood doors and mid-century hardware alongside newer builds with steel Clopay and Amarr panels and LiftMaster or Chamberlain openers. Each type wears differently. A wood door needs finish upkeep a steel door doesn’t. A 1970s torsion assembly may be due for a full hardware refresh even if the panels look fine. The checklist below is built to work for both.
We work on the brand you already have, whether it’s a LiftMaster opener from a recent build or a Genie unit that’s been humming along in a Buena Vista garage for years. That matters because maintenance advice only works when it matches the actual hardware.
The Monthly Five-Minute Check
You don’t need to do the full checklist every month. But five minutes of attention now and then prevents the kind of surprise that strands your car in the garage on a work morning. Here’s the sequence we recommend. Run it once a month, ideally on a day you’re already outside.
- Listen before you look. Open and close the door once and stand still. Rattle, grinding, squealing or a rhythmic thump are all early warnings. A smooth door is quiet.
- Watch the balance. Disconnect the opener (usually a pull cord on the rail) and lift the door halfway by hand. It should stay put. If it drops or rises on its own, the springs are out of balance and it’s time to call.
- Run the auto-reverse test. Place a roll of paper towels or a scrap of 2×4 flat under the door and close it. The door should reverse on contact. It’s failing if it presses down and holds.
- Check the photo-eye sensors. Wave an object across the beam at each sensor and watch the opener’s indicator light. No reaction means a sensor is misaligned, dead or dirty.
- Scan the hardware with your eyes. Look at the springs, cables and rollers. You’re not fixing anything here. You’re looking for anything that stands out: a sagging cable, a frayed strand, a roller that’s clearly not in its track.
- Glance at the seal. Look along the bottom of the door where it meets the floor, and along the sides. Gaps, cracks or daylight showing through are your cue to inspect in more detail.
If any of those steps turn up a problem, write it down and come back to it. Don’t keep opening and closing a failing door. Every cycle on a dying spring or a frayed cable adds wear.
Brand-Specific Lubrication: What Your Opener Actually Needs
Here’s where generic checklists fall down. Someone tells you to “lubricate the door and opener” and you grab whatever’s in the garage. But the opener drive matters as much as the door itself, and different drives need different treatment. The wrong lubricant or a missed point causes real wear.
Chain-drive openers (common on LiftMaster and Chamberlain units)
Chain drives are the workhorses. The chain runs along the rail and takes load on every cycle. Use a chain and cable lubricant or a white lithium grease on the chain itself, applied sparingly. A heavy coat attracts dust and grit, and grit is worse than no lubricant at all because it grinds. Apply a light coat along the chain, cycle the door once, and wipe away any excess. Don’t lubricate the motor housing or the internal gears.
Belt-drive openers
Belt drives are quieter by design, which is why they’re popular where a bedroom sits above or next to the garage. Belts don’t need chain lubricant and shouldn’t be coated – a greased belt will slip and wear faster. Instead, pay attention to the tension and to the pulleys at either end of the rail. A belt that squeals or sags needs a technician’s eye, not a spray can. A small amount of silicone spray on the trolley and carriage assembly is the right touch on a belt drive.
Screw-drive openers (common on Chamberlain and some Genie models)
Screw drives use a threaded rod that threads through the carriage. They’re low-maintenance by design and, in most cases, need no more than a sparing application of the manufacturer’s specified screw-drive lubricant. That’s the key phrase: manufacturer’s specified. Using chain lube on a screw drive can leave the carriage gummed up. Check the manual for what your model calls for.
Whichever drive you have, the door itself needs lubrication on the same schedule. Apply a light coat of lubricant to the torsion springs (if you can safely reach them), the hinges at each pivot point, and the roller bearings – not the roller face that rides in the track. Wipe away excess. Do this two to four times a year in Winston-Salem, and always once before the cold snaps set in.
Testing the Auto-Reverse and Force Settings
The auto-reverse mechanism is the single most important safety feature on a garage door. It senses resistance and reverses the door when something is in the way. The force setting is the amount of pressure the opener will apply before it reverses. If the force setting is too high, the door keeps pressing. Too low and it reverses on its own for no reason.
Here’s the part most homeowners miss: the force setting drifts. Metal contracts in cold weather, and the door meets a little more resistance in January than it did in October. The setting that worked fine in the fall can be marginal in a hard freeze. Humidity in summer can cause the door hardware to bind slightly, which has the same effect. That’s why we recommend testing the force and auto-reverse setting at least once a month, and always after a big temperature swing.
Testing is straightforward:
- Auto-reverse: Place a roll of paper towels or a short 2×4 flat on the floor under the door and close it. The door should contact the object and reverse within a couple of seconds. If it presses and stalls, the mechanism is failing and should be looked at.
- Photo-eye sensors: Wave an object across the beam at each sensor while the door is closing. The door should reverse. If it doesn’t, the sensor is misaligned, dirty or dead.
- Force setting: With the door disconnected from the opener, lift it halfway by hand. If it takes real effort to lift or it drops on its own, the door isn’t balanced. A balanced door plus a properly set force setting means the door should never need to push hard.
If the door fails the auto-reverse test, stop using it and call. That’s a safety call, not a maintenance item. A door that won’t reverse is a real hazard to small kids and pets. Our garage door opener repair team can test the mechanism and reset the force setting correctly.
Weatherseal Inspection for Piedmont Freeze-Thaw
The bottom seal, side seals and the strip of trim that runs down the sides and across the top all do the same job: keep water, air and pests out. In a climate with freeze-thaw cycles, a compromised seal does more than let a draft in. It lets water into the doorway where it can freeze against the door and frame, expand, and pry things apart. A seal that looks fine in October can be the reason you’re looking at a cracked bottom edge in February.
Inspect the seals twice a year as a baseline, and add one more check any time the forecast shows a hard freeze coming. Here’s what to look for:
- Bottom seal: Run your hand along the rubber strip at the base of the door. It should feel flexible, not brittle or cracked. Look for tears, missing chunks or a section that’s flattened and no longer touching the floor.
- Side and top seals: Check along each side and across the top for gaps where daylight shows through. Gaps widen after a freeze cycle. Note them now and fix them before spring.
- Frame contact: Look at where the door frame meets the wall. Any visible gap, especially near the ground, is a spot where water can get in and freeze.
- Weatherstripping at the corners: The corners take the most moisture. Peel-check them gently. If the seal pulls away easily, it’s time to replace it.
Replacing a bottom seal is usually a straightforward job and worth doing the moment it starts to look worn. A seal that fails in January means water on the floor of your garage for the rest of the winter, and a door frame that takes the wear. If the seal replacement calls for moving the door or removing the bottom bracket, that’s a job for a technician.
Visual Inspection of Springs, Cables and Rollers
We’re going to be clear about this up front: a visual inspection is not a repair. Springs and cables are under high tension. A torsion spring holds enough stored energy to cause serious injury if it’s touched the wrong way. What follows is a safety check you can do by looking, not touching. For anything beyond the pass/fail test below, call a trained technician. That’s a rule we never bend.
Here’s the sequence, with clear pass/fail criteria:
- Torsion springs (the horizontal coil above the door): Look at the coil, not just the ends. Pass: the coil is even, straight and free of visible gaps. Fail: gaps between coils, a coil that’s separated or a spring that’s clearly stretched out of shape. Any visible gap is a cue to stop using the door and call.
- Extension springs (the vertical springs alongside the door): These should have a safety cable running through the center. Pass: both springs are straight and the safety cable is present and attached. Fail: a missing safety cable, a spring with visible gaps between coils or a bent hook.
- Cables: Pass: each cable is taut, with an even wind on the drum and no frayed strands. Fail: a cable with frayed strands, kinks (visible bends you can see from a short distance), or one side that looks noticeably looser than the other.
- Rollers: Look at the wheels where the door meets the track. Pass: the rollers roll smoothly when you push the door a few inches by hand, no flat spots, no missing nuts. Fail: a roller with a flat spot, a bearing that squeals or one that’s slid out of the hinge.
- Track: Run your eye along the full length of each track. Pass: straight, no dents, no debris inside. Fail: visible bends, dents, or a track where the door catches when you push it.
- Hinges and brackets: Look for loose screws. Pass: all screws snug, bracket attached firmly. Fail: a bracket that’s worked loose from the door or a hinge that’s cracked.
Any fail on the spring or cable item is a call-the-technician situation. Don’t try to adjust tension or “grease it and see.” Springs under load don’t respond to persuasion. Our garage door repair team will inspect and give you a written price before anything is touched.
Which Tasks Protect Your Warranty (and Which Void It)
Garage door components and openers come with manufacturer warranties, and those warranties typically call for routine maintenance to stay valid. That’s the good news. The catch is that a few well-intentioned DIY actions quietly void coverage on the parts they touch. Knowing which is which saves you money when something big fails.
Tasks that protect your warranty
- Lubrication on schedule: Most door and opener manufacturers expect routine lubrication. Documenting it (a note on the calendar, a photo of the labels) gives you a paper trail if you ever need to make a claim.
- Monthly auto-reverse and force testing: Regular testing is exactly what the safety section of your manual asks for. Doing it and noting the date keeps that history intact.
- Weatherseal inspection and replacement: Replacing a worn bottom seal with the manufacturer’s specified replacement is maintenance, not a modification.
- Keeping the door clean and free of debris: Dirt and grit in the tracks accelerates wear. Clean tracks preserve the parts the warranty covers.
Tasks that can void a warranty
- Replacing a spring or cable yourself: Most manufacturers exclude failures caused by improper installation. Spring and cable replacement call for the correct wire gauge and winding, which is not a homeowner job.
- Adjusting the force setting beyond the manual’s range: Pushing the force setting up to mask a binding issue can stress the opener motor and override a safety feature. That can void the opener warranty.
- Using the wrong lubricant: Chain lube on a screw drive, grease on a belt – both can damage the drive mechanism and give the manufacturer a reason to decline a claim.
- Modifying the door or opener: Adding weight, swapping panels or rewiring the opener beyond the manufacturer’s setup voids coverage on the parts affected.
One last point on warranty timing: any injury to the door (a kid backing the car into it, a hard storm) is worth a call to a technician even if the door still runs. Panels and hardware that take impact often develop hairline cracks or a slightly bent track that only shows up months later, and the delay can complicate a warranty claim. We’ve seen this play out on doors across Winston-Salem. Reach out to Crescent Garage Door Repair whenever you’re unsure whether an issue is covered.
A Seasonal Calendar for Winston-Salem Doors
The best checklist is the one that fits the calendar. Here’s how we’d schedule the work through a Piedmont year.
Fall (October-November)
This is the most important tune-up of the year for Winston-Salem. Lubricate the springs, hinges, rollers and opener drive. Inspect the weatherseals and replace anything that’s worn before the first hard freeze. Test the auto-reverse and force settings. November is the month to get ahead of the cold snaps.
Winter (December-February)
Test the auto-reverse and force settings at least once a month, more often after a hard freeze. Inspect the bottom seal and side seals after each freeze cycle. If the door starts sounding different on cold mornings, that’s a cue to look more closely. Everything else is on hold unless you see a fail on the springs, cables or rollers.
Spring (March-April)
Now’s the time for the full visual inspection: springs, cables, rollers and tracks. Look for the wear that a Piedmont winter has caused. Lubricate again. Check the weatherseals after the freeze season ends, since this is when cracks from winter tend to show up clearly. If anything needed attention in winter and you skipped it, this is the catch-up point.
Summer (May-September)
Humidity is the main thing. Keep the tracks clean and free of grit. Test the auto-reverse and force setting, since humidity can cause hardware to bind and put the force setting to work. Watch for rollers that squeak in the heat. Lubricate again in mid-summer, especially if the door runs a lot.
If you follow that schedule and the monthly five-minute check, you’ll catch most problems early. When something fails anyway, that’s what the phone call is for. If you’re in the middle of a Winston-Salem repair project and want a professional opinion before you buy parts, reach out early rather than after the door stops working.
Common Mistakes to Avoid
- Lubricating the rollers’ wheels instead of the bearings. The wheel face that rides in the track shouldn’t be greased – it collects grit and chews up the track. The bearings inside are what need the lubricant.
- Skipping lubrication through the dry, cold snaps. This is the one that really costs Winston-Salem homeowners. A dry spring is a cold-fragile spring, and a hard freeze is when it lets go.
- Adjusting the force setting to “fix” a binding door. If the door is binding, the problem is in the door, not the opener. Cranking the force up to compensate is a shortcut that voids warranty coverage on the opener motor and leaves the safety system weakened.
- Using the wrong lubricant for the drive type. Chain lube on a screw drive, grease on a belt, anything on the internal gears. Match the lubricant to the drive, every time.
- Ignoring a bottom seal that’s worn. In a Piedmont climate, a failing bottom seal lets water in, the water freezes, and the freeze works on the frame and door. Replace the seal on sight.
- Treating a spring gap as a minor cosmetic issue. A visible gap in a torsion spring is a fail. Stop using the door and call a technician. Springs under load are dangerous to touch.
- Skipping the after-freeze check. The most useful weatherseal inspection in Winston-Salem happens the day after a hard freeze. That’s when the cracks show.
See the difference
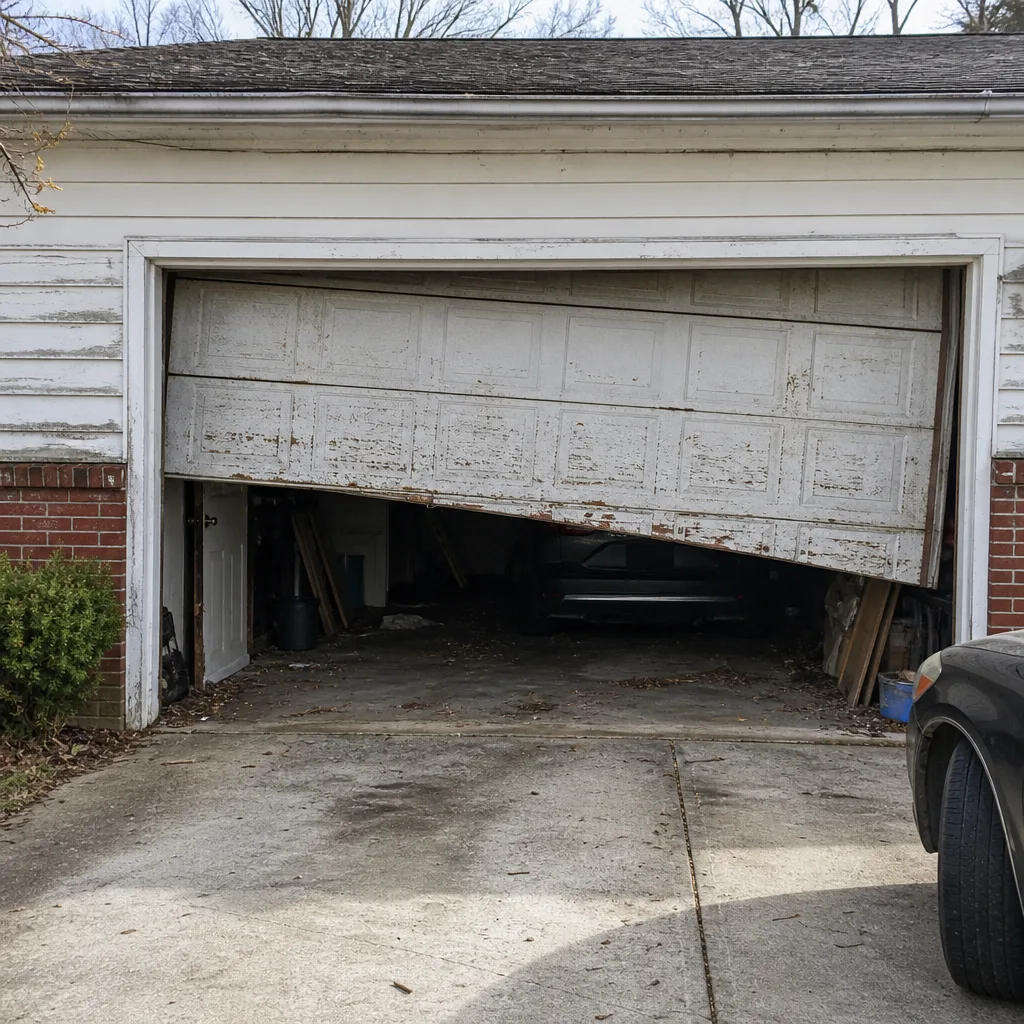 Before
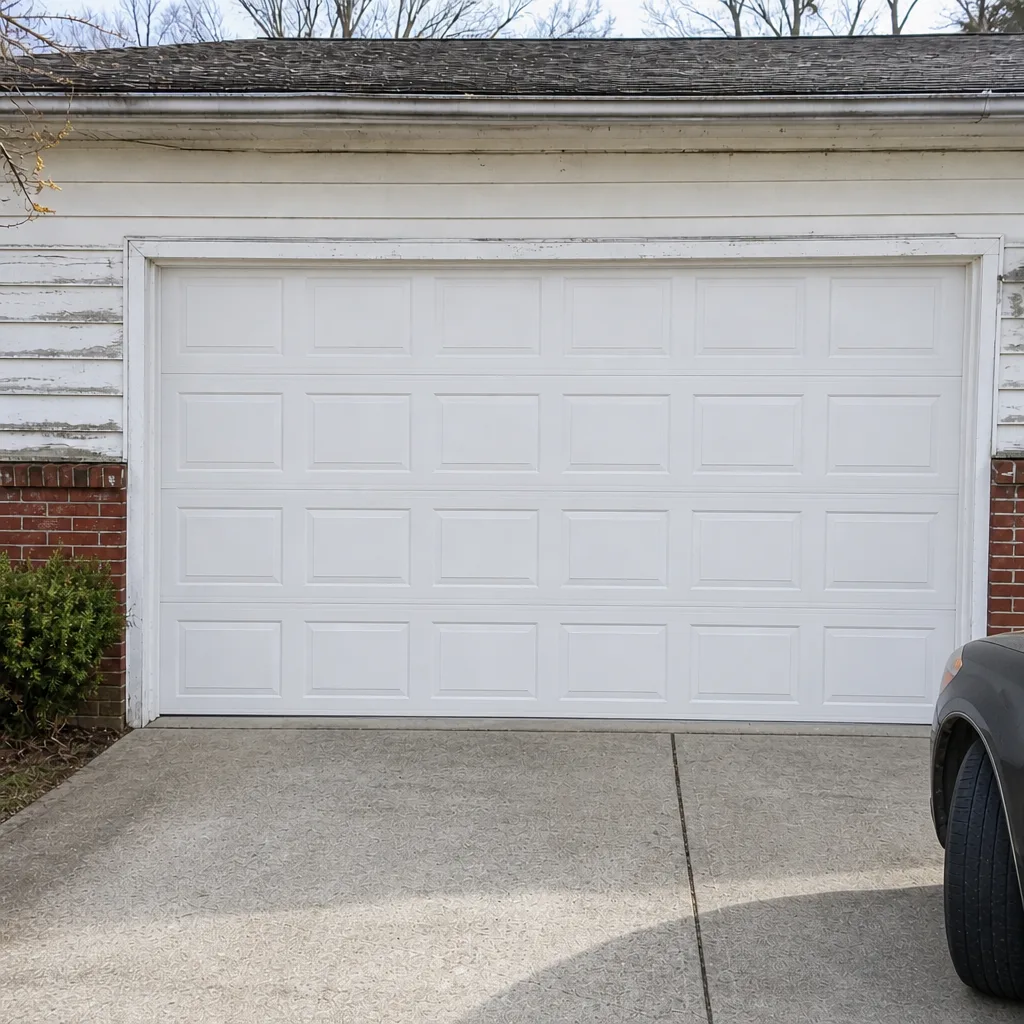 After
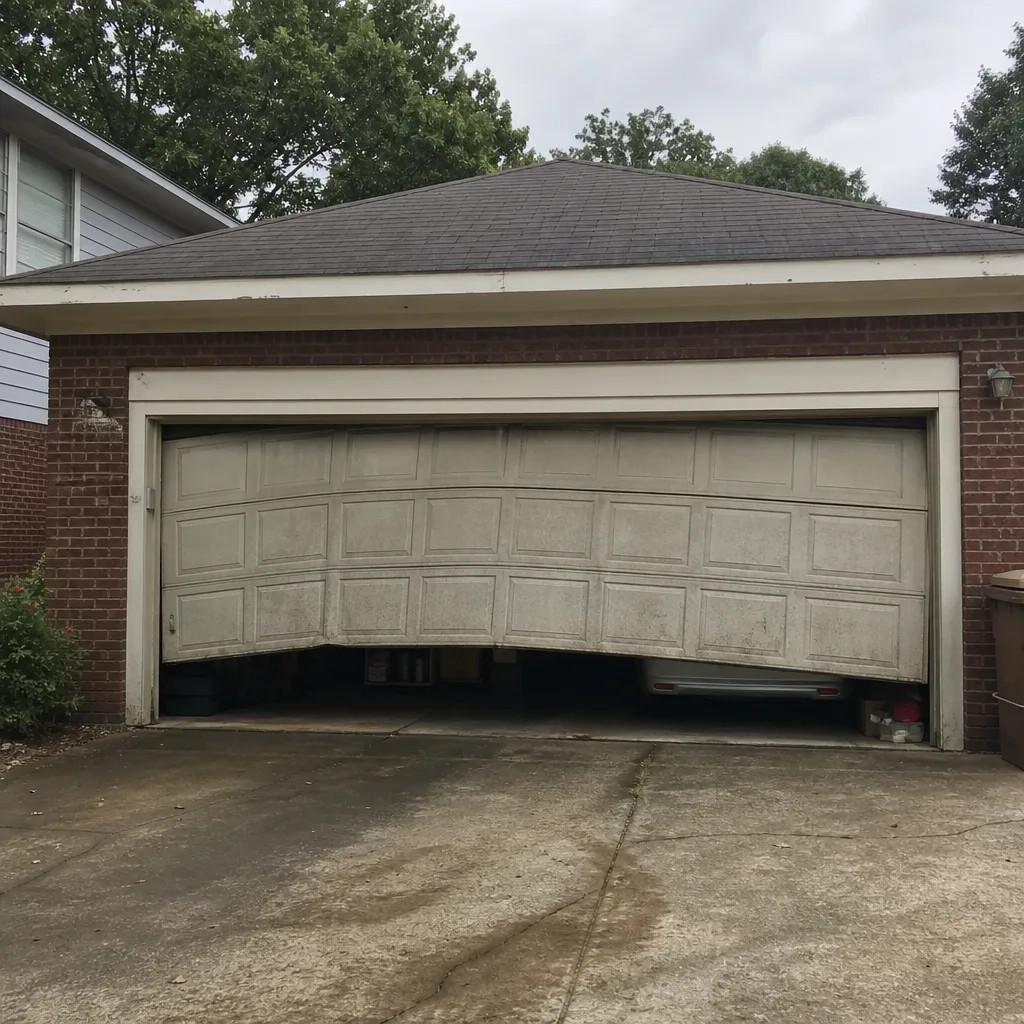 Before
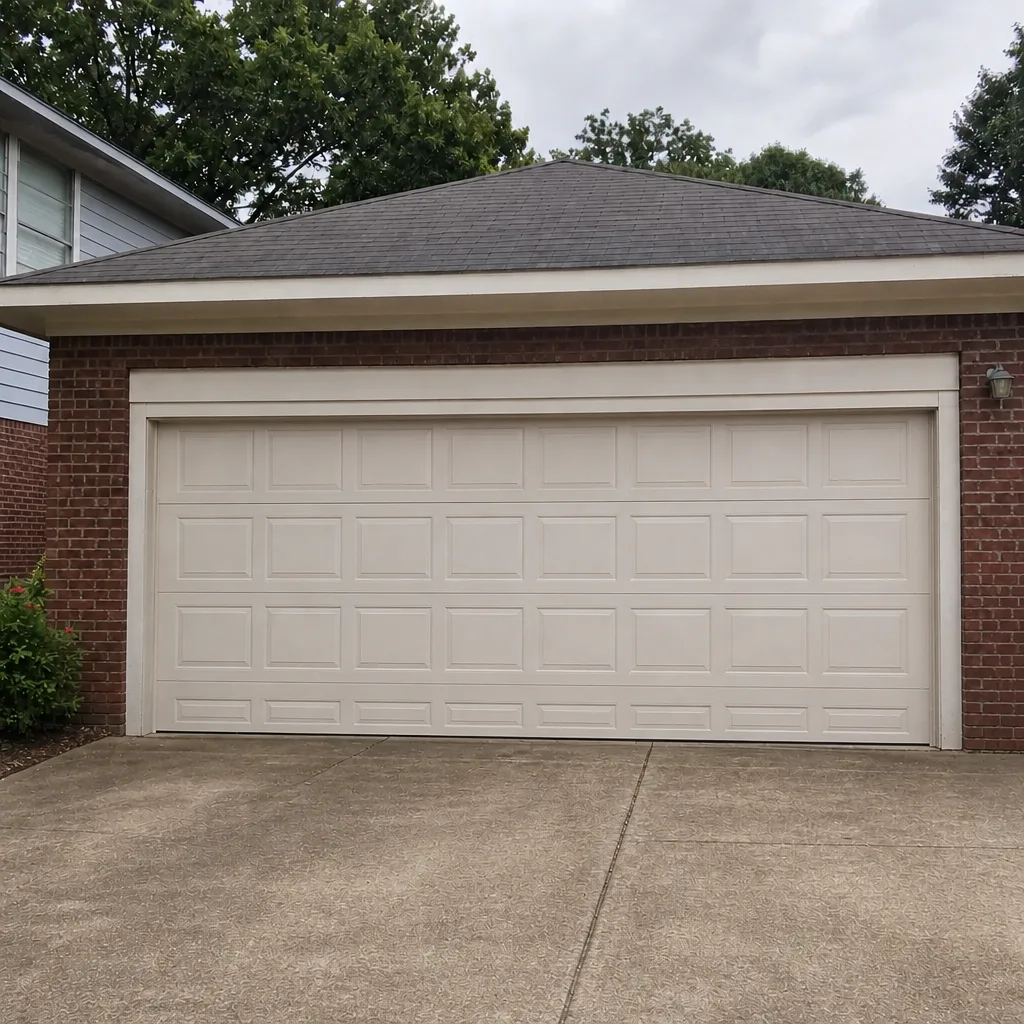 After
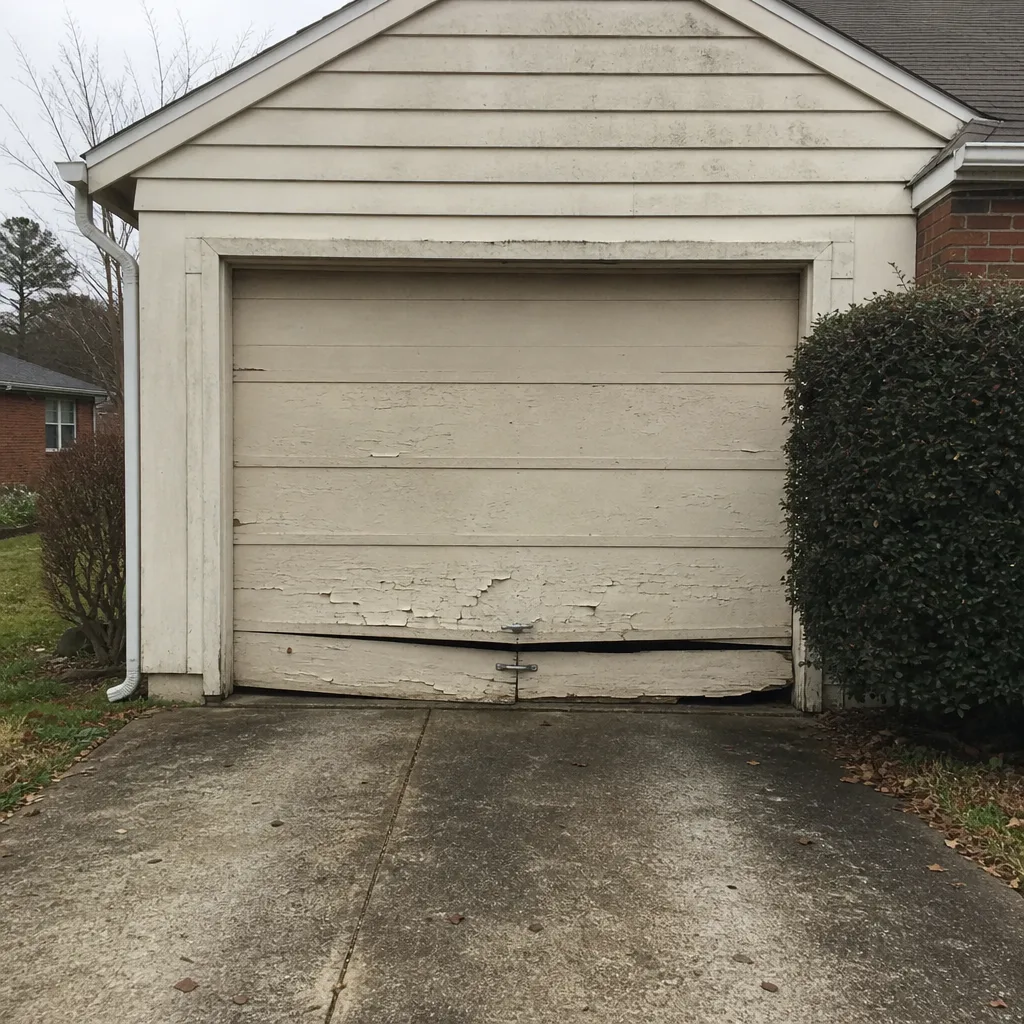 Before
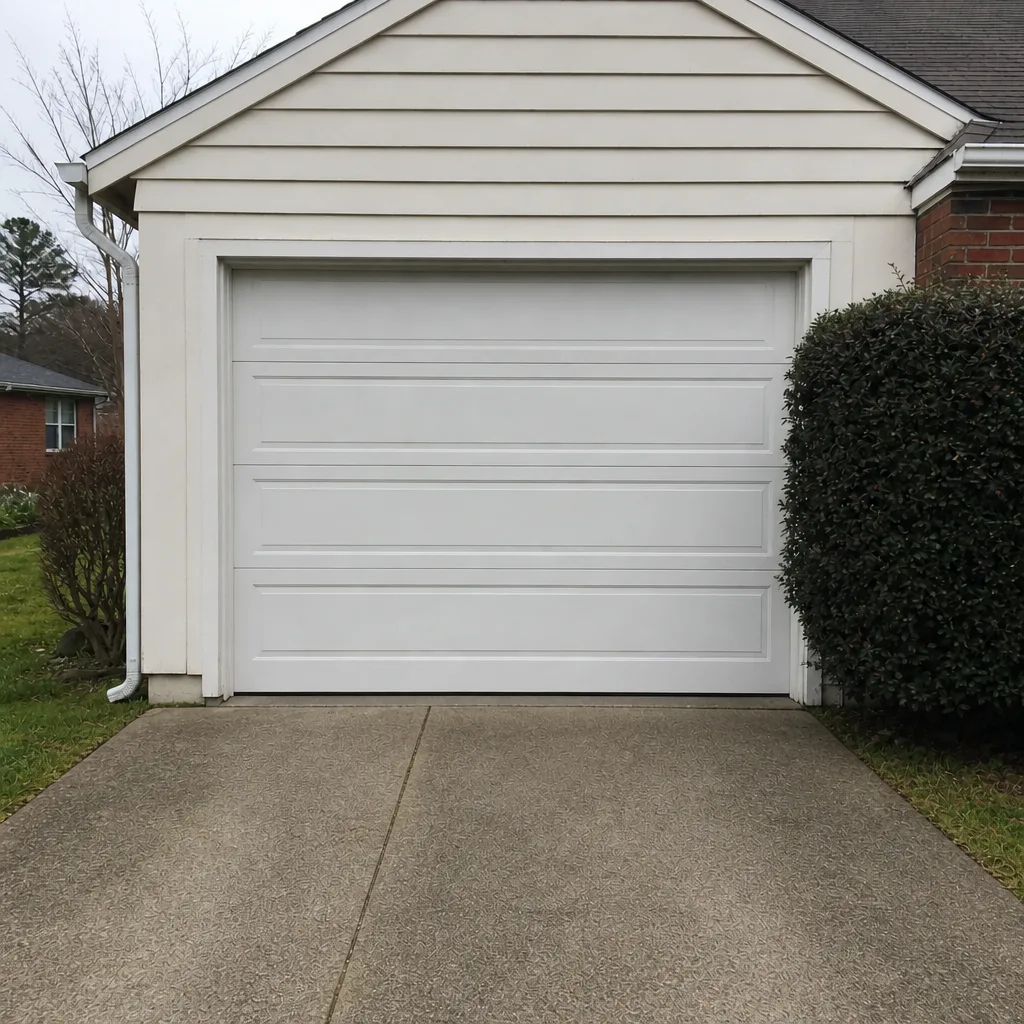 After
When to Call a Professional
Call a trained technician when any of the following come up:
- A torsion or extension spring shows a visible gap or breaks.
- A cable is frayed, kinked or visibly looser on one side than the other.
- The auto-reverse fails on the paper-towel test and you can’t figure out why.
- The opener runs but the door won’t move, or the door moves a few inches and stops.
- The weatherseal replacement calls for moving the bottom bracket.
- The door was impacted by a car or a falling object, even if it still opens.
- You’re not sure whether a warranty covers something, and you want a professional eye before making a claim.
These are the calls where the diagnosis is worth more than the repair. Our technicians have up to 9 years of experience working on the brands most Winston-Salem homes already have, and Crescent Garage Door Repair offers free estimates in Winston-Salem. Call (877) 692-2814 for a free estimate.
Frequently Asked Questions
Two to four times a year, with the most important application in fall before the cold snaps set in. The Piedmont’s dry, cold window in January and February is when dry springs fatigue fastest, so a fall lubrication run is the one that matters most. Call (877) 692-2814 and we’ll walk you through what to lubricate and what to leave alone.
The monthly auto-reverse and force-setting test. It’s the safety feature that protects kids and pets, and it drifts after temperature swings, so testing it monthly catches problems before they matter. The spring-and-cable visual inspection is a close second. Call (877) 692-2814 if either test fails and you want a professional look.
No. Springs are under high tension and a mistake can cause serious injury. Even a “gentle” unwind can go wrong, and the wire gauge and winding need to match the door. Let a technician handle it. We handle spring repair on every major door brand – call (877) 692-2814 for a free estimate.
Three reasons. Metal contracts and puts more resistance on the door. The force setting that worked in summer becomes marginal. And a worn weatherseal lets in water that freezes and pries at the frame. That’s why the checklist adds an after-freeze seal inspection. Call (877) 692-2814 if the door stops working in cold weather.
No – lubrication, testing and weatherseal replacement are exactly what the manufacturer expects. What can void a warranty is DIY spring or cable work, pushing the force setting beyond spec, or using the wrong lubricant on the drive. When in doubt, call (877) 692-2814 first.
We’re trained on 8 of the most widely installed brands in North America: LiftMaster, Chamberlain, Genie, Clopay, Amarr, Wayne Dalton, Craftsman and Raynor. That covers the vast majority of doors and openers in Winston-Salem homes. If you’re not sure what you have, we’ll diagnose based on the actual hardware. Call (877) 692-2814.
The Bottom Line
A maintenance checklist is only useful if it matches your hardware and your weather. The Winston-Salem version has three priorities: lubricate on the right schedule for your opener’s drive type, test the auto-reverse and force settings monthly because they drift with Piedmont temperature swings, and inspect the weatherseals before and after every freeze. Everything else is routine. If you follow the seasonal calendar and the monthly five-minute check, you’ll catch most problems while they’re still small. When a spring fails or a cable frays, that’s a call-the-technician moment. Our technicians have up to 9 years of experience, Crescent Garage Door Repair offers free estimates in Winston-Salem, and we work on the brand you already have. Call (877) 692-2814 today. We answer 24/7. Fast dispatch from 7am to 7pm, Sunday through Friday.
Written by the team at Crescent Garage Door Repair.